Having the right tool for the job makes all the difference. We planted 125 saplings in 2 hours! Here is what you need for a successful tree planting:
- Saplings – Check out your state nursery! We use the John S. Ayton State Tree Nursery
- Dibble
- Optional: grow tubes with tree stakes for protection
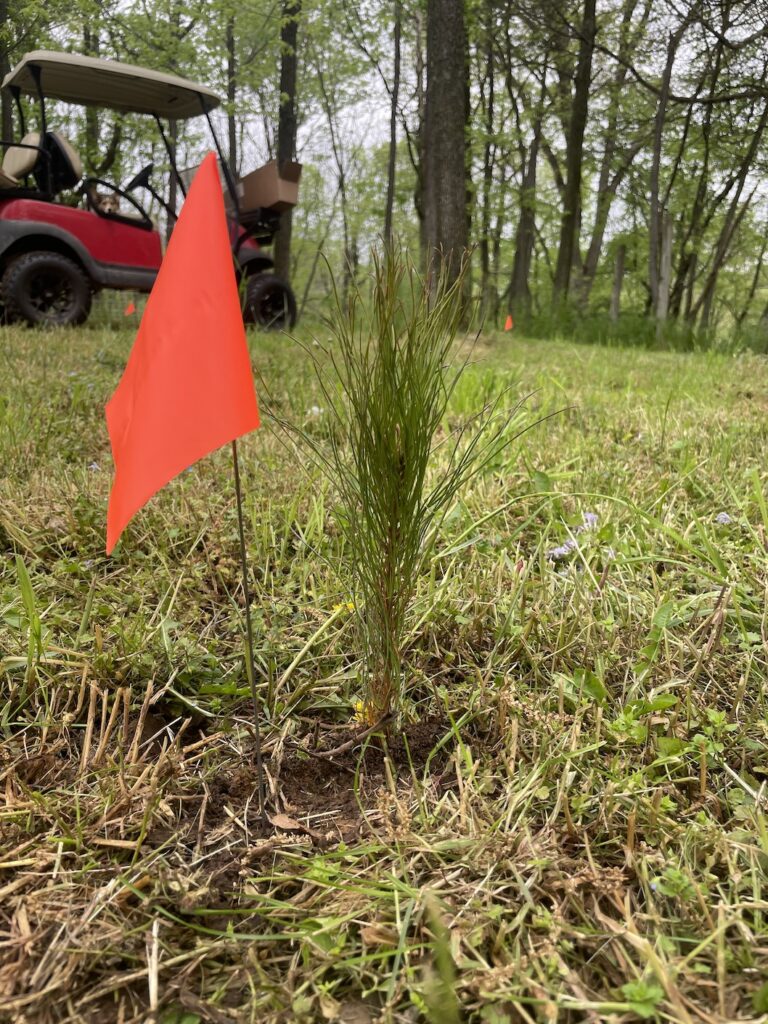
- Optional: marking flags – so you don’t take out your new planting with the lawn mower!
Planting trees offers a multitude of benefits that positively impact the environment, and is an excellent family activity for the backyard or your homestead. Trees improve the local ecosystem by providing a habitats for numerous species and promoting biodiversity. Tree roots help prevent soil erosion. When planted along a waterway, trees contribute to the riparian buffer that not only prevents erosion, but also protects water quality and stream habitat. Trees improve air quality and sequester carbon! Furthermore, trees add to the natural beauty of your property and contribute to our wellbeing. Spending time in nature and around trees has been linked to reduced stress, anxiety and improved mental health! On that note, lets get planting! We purchased our saplings from the John S. Ayton State Tree Nursery.
What is a Dibble, and Why Use It?
A dibble is a gardening tool that is used to make holes in the soil for planting seeds or small plants. The tool consists of a long, pointed rod with a handle on one end. Using a dibble offers several benefits when planting saplings:
- Hole is correct size and depth
- Prevents damage to roots
- Efficiency! Did I mention that we planted 125 saplings in 2 hours?
Steps to Planting Saplings Using a Dibble:
Step 1: Prepare the soil before planting by removing any weeds or dense vegetation. Depending on soil quality, consider adding compost or fertilizer.
Step 2: Choose the right location. Choosing the right location for planting is crucial for the sapling’s success. Look for a spot that gets enough sunlight and has good drainage. Avoid planting near buildings or other structures that can obstruct the tree’s growth.
Step 3: Dig the hole. Use the dibble to make a hole in the soil that is slightly wider and deeper than the sapling’s root ball. Be sure to space the holes far enough apart so the saplings have room to grow without competing for resources. If planting multiple saplings, consider using a straight line or grid pattern for a neat and organized appearance that facilitates easy mowing between the saplings.
Step 4: Place the sapling into the hole, taking care to avoid damage to the roots. Make sure the root ball is below the soil surface. Gently pack the soil around the roots. We found that placing the dibble in the ground 3-4 inches from the sapling and pressing it toward the sapling efficiently closes the hole without risking damage to the sapling.
Step 5: Place a bright colored marker beside the sapling to mowing it and to also keep the area weed free. We used orange flags.
Step 6: Water the saplings after planting and consider adding a layer of mulch around the base of the sapling to help retain moisture and suppress weeds.
Happy Planting!
